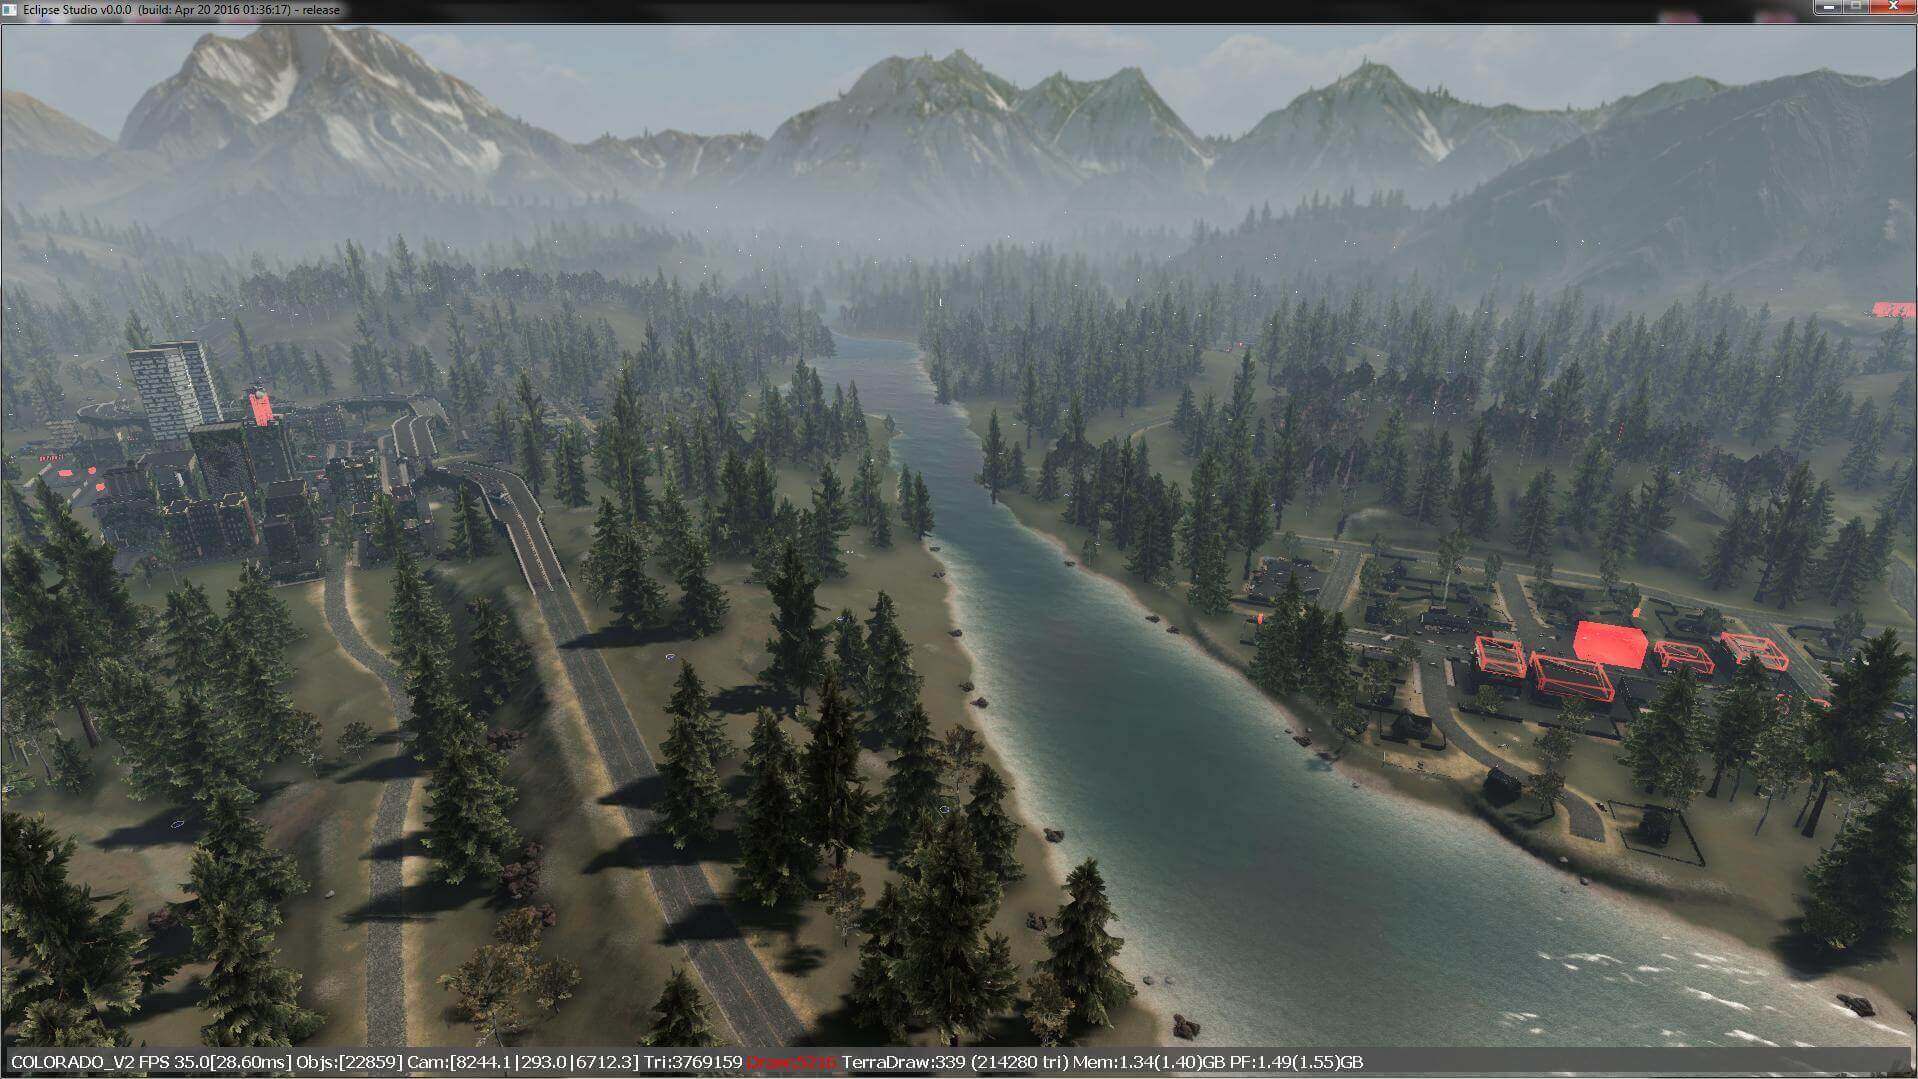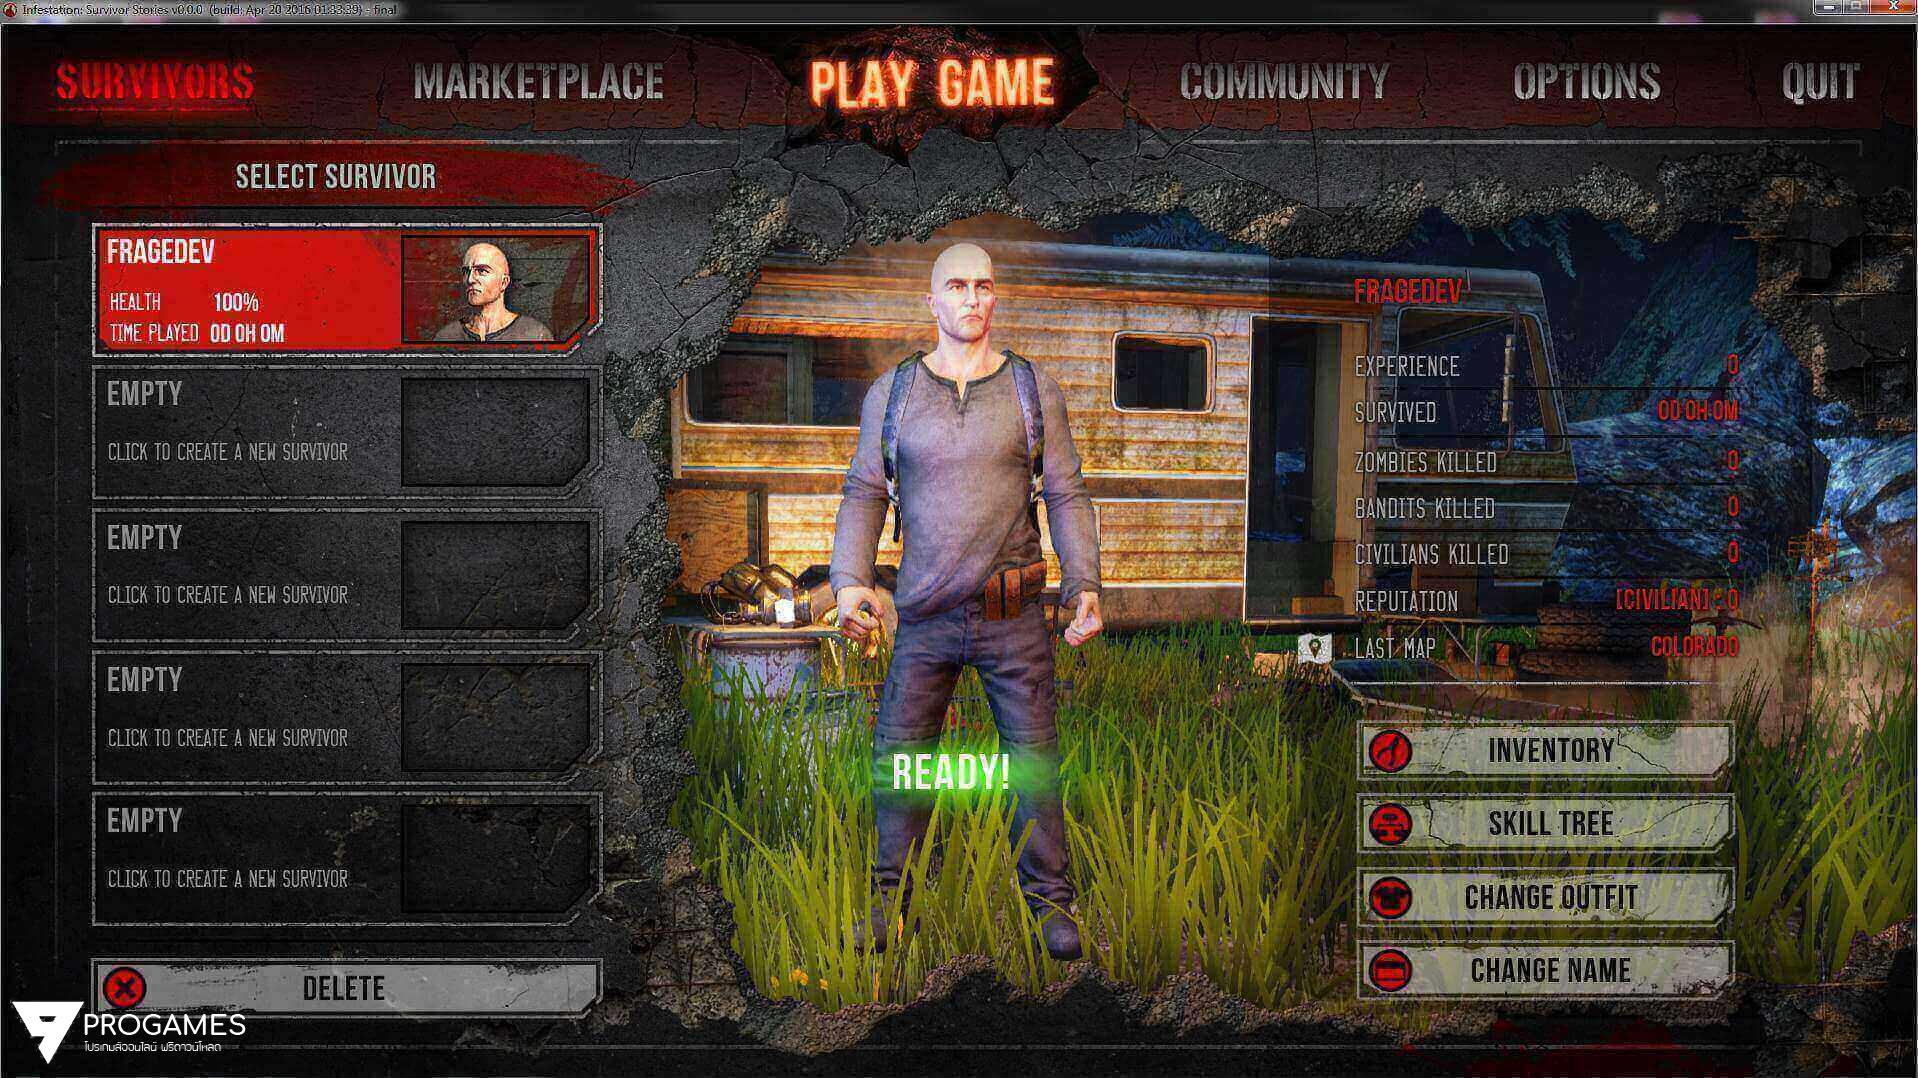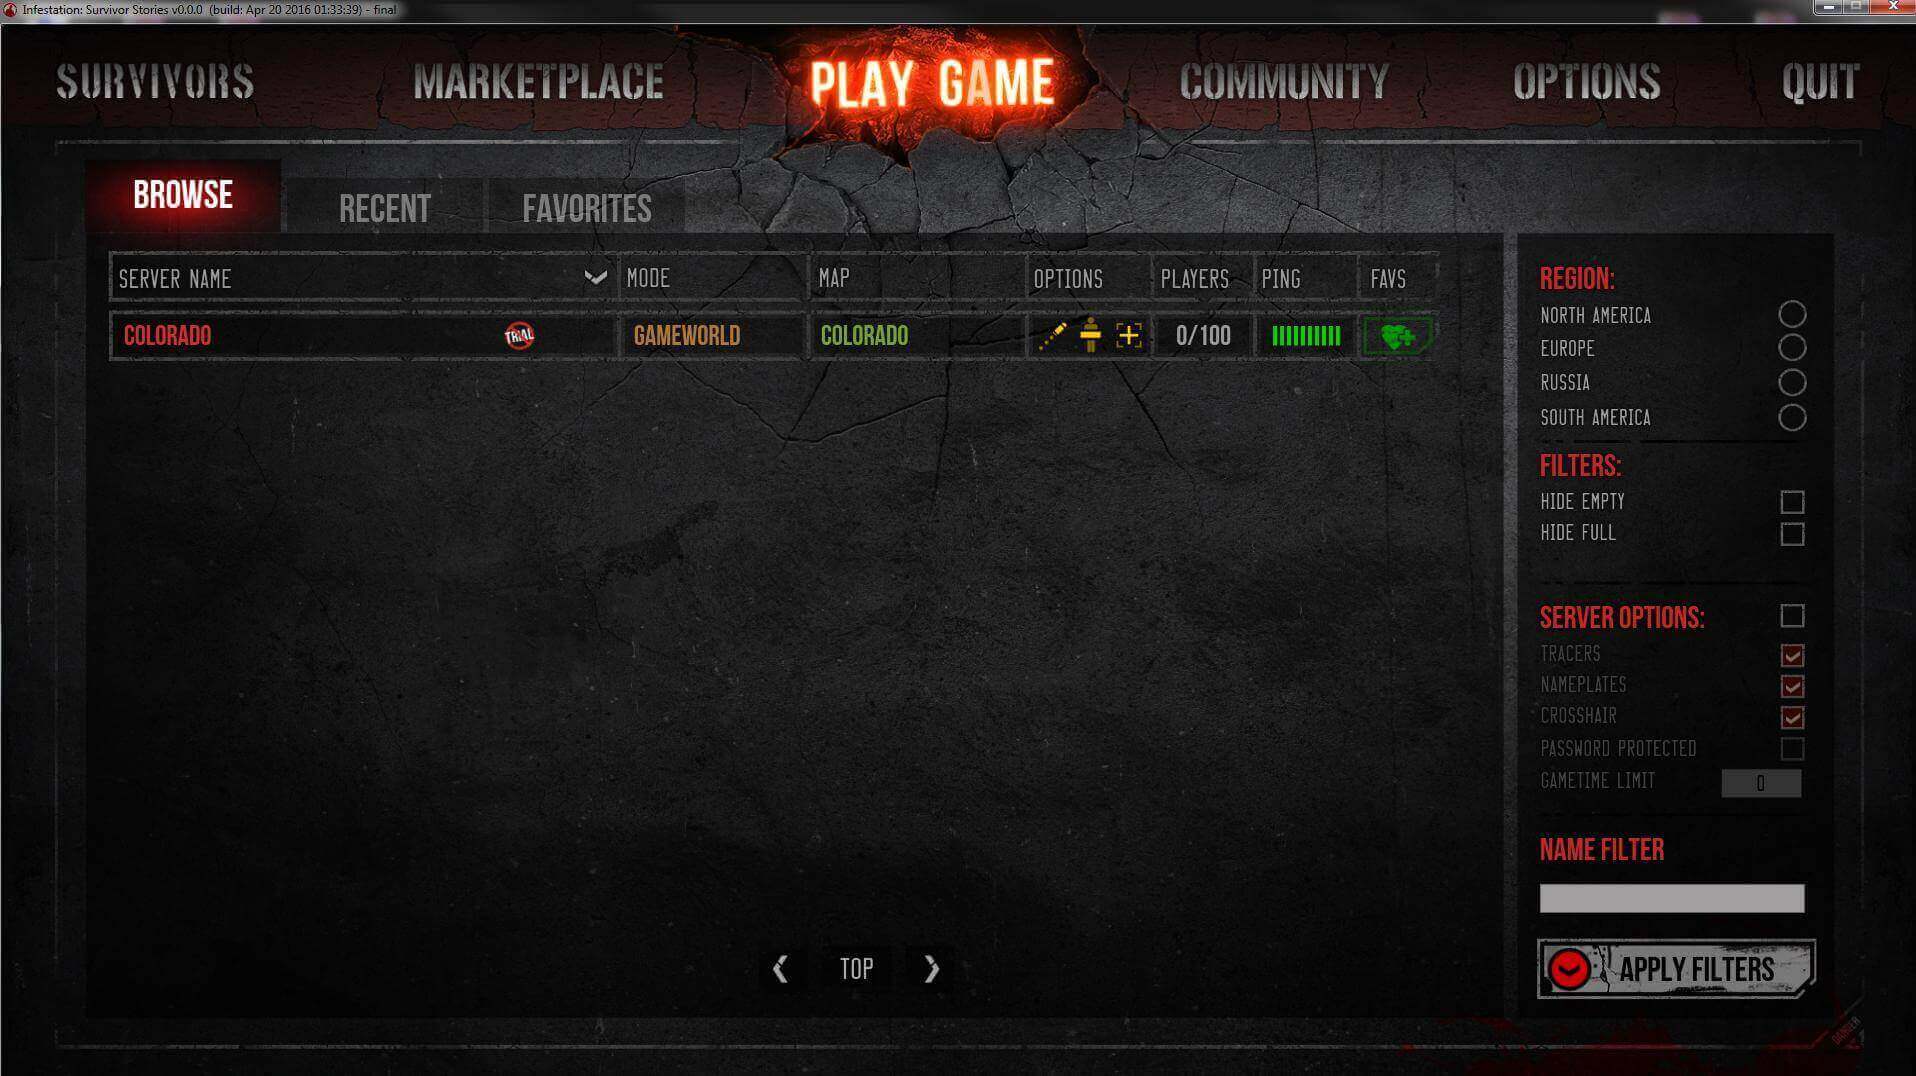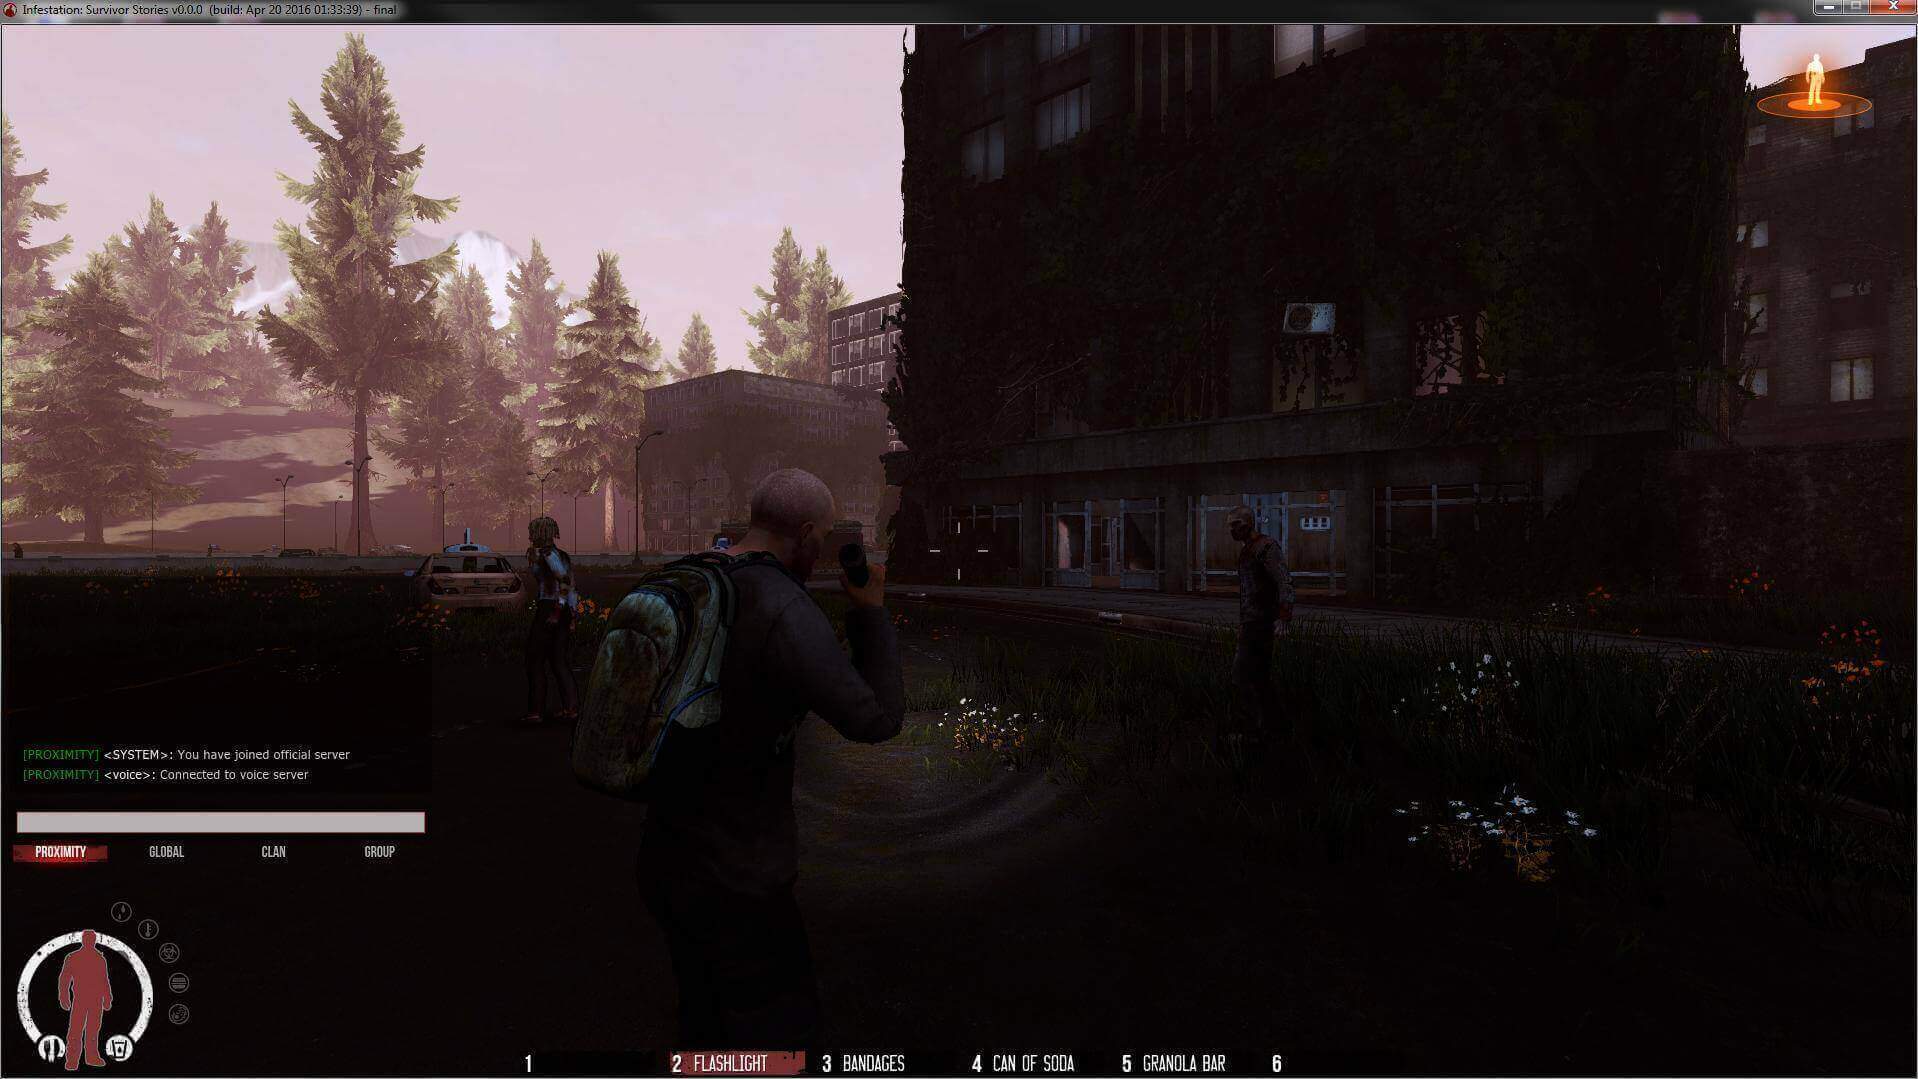
ตัวเปิดเกม หรือ ตัวเปิดเซิฟเวอร์ WarZ (Online/Offline) นั้นหลายๆคนที่เปิดกันจะเป็นการปรับแต่งหรือทำเป็นอีกระบบแต่วันนี้เราจะนำตัว เซิฟเวอร์ WarZ แบบเดิมๆ หรือ แนวเดียวกับ WarZ เซิฟแท้มาแจกเพื่อนๆได้ลองเอาไว้เปิดเล่นแบบออฟไลน์ หรือ เล่นออนไลน์กับเพื่อนๆ โดยระบบของเกมไม่ได้ถูกปรับแต่งอะไรเป็นแนวเดียวกับเซิฟเวอร์จริง
สำหรับเพื่อนๆที่จะเปิดเล่นอออฟไลน์ สามารถทำตามขั้นตอนข้างล่างๆและเปิดเล่นได้ทันที แต่เพื่อนๆที่ต้องการจะเปิดเล่นแบบ Online หรือเปืดเพื่อหาเงิน เพื่อนๆก็ต้องไปเช่า VPS Server สำหรับเปืดแบบออนไลน์ซึ่งจะมีค่าใช้จ่ายที่สูงขึ้นไปอีก ตามความต้องการของระบบ
สิ่งที่จำเป็นต้องติดตั้ง :
2/ Microsoft Visual Studio 2008 SP1
3/ Microsoft SQL Studio 2008
4/ DirectX 9.0c End-User Runtime
5/ DirectX Software Development Kit
6/ Microsoft Web Platform
7/ WinRar
1/ Open Start -> Run
2/ Type msconfig and click OK
3/ Select Tools tab
4/ Select Change UAC Settings and press Launch
5/ Change settings to never notify and click OK
– ปิดการใช้งาน Windows Firewall
1/ เปิด Start -> Run
2/ Type Netsh advfirewall set all state off and click OK
– ปิดการใช้งาน Internet Explorer ปรับปรุงการรักษาความปลอดภัย (ถ้าคุณกำลังใช้ Windows Server 2008/2012)
1/ เปิดServer Manager
2/ ในหน้าหลักเลือก Configure IE ESC
3/ เปลี่ยนการตั้งค่าการบูต Off และคลิก OK
2/ คลิก Add Roles
3/ เมื่อคุณสามารถเลือก Web Server (IIS) (ให้แน่ใจว่าจะเพิ่ม .NET Framework 3.5.1)
4/ เลือก
– Static Content
– Default Document
– Directory Browsing
– HTTP Errors
– ASP.NET
– .NET Extensibility
– ASP
– CGI
– ISAPI Extensions
– ISAPI Filters
– HTTP Logging
– Logging Tools
– Request Monitor
– Custom Logging
– Request Filtering
– IP and Domain Restrictions
– Static Content Compression
– Dynamic Content Compression
– IIS Management Console
5/ ติดตั้ง
6/ รีสตาร์ท คอมพิวเตอร์
1/ เปิด wpilauncher.exe
2/ ติดตั้งโปรแกรม
3/ On the search box type PHP and press ENTER
4/ เลือก PHP 5.3.28 และคลิกเพิ่ม
5/ ที่จะเพิ่มสองรายการพิเศษคลิกติดตั้ง
6/ ยอมรับโดยการคลิกที่ Accept
7/ รีสตาร์ท คอมพิวเตอร์
– WinRAR
1/ เปิด winrar-64x-531
2/ ติดตั้งโปรแกรม– DirectX 9.0c End-User Runtime (ไม่สนใจถ้าคุณกำลังใช้ Windows Server 2012)
1/ เปิด dxwebsetup.exe
2/ ติดตั้งโปรแกรม
– DirectX Software Development Kit
1/ เปิด DXSDK_Jun10.exe
2/ ติดตั้งโปรแกรม
– Microsoft SQL Server 2008
1/ เปิด SQLEXPRWT_x64_ENU.exe
2/ คลิกที New installation or Add features to an existing installation
3/ ทำเครื่องหมายในช่อง I accept the license terms และคลิก Next
4/ เลือกทั้งหมดแล้วคลิก Next
5/ เปลี่ยนชื่อเป็น WarZ
6/ คลิกถัดไป
7/ เปลี่ยนโหมดการรับรองความถูกต้องไปยังโหมดผสมและป้อนรหัสผ่านที่แข็งแกร่ง
8/ ติดตั้ง
9/ รีสตาร์ทคอมพิวเตอร์
10/ Open SQL Server Configuration Manager
11/ นำทางไปยัง SQL Server Network Configuration -> Protocols for WARZ
12/ คลิกขวาที่ TCP/IP และเลือก Properties
13/ In the Protocols tab change Enabled value toYes
14/ In the IP Addresses tab set every TCP Dynamic Ports value to blank ( ) and set every TCP Port value to 1433
15/ Click OK
16/ Navigate to SQL Server Service, Right Click on SQL Server (WARZ) and select restart
– Extract the WarZ folder from the .zip to your C disk C:WarZ
– Internet Information Service IIS Configuration (IIS)
1/ สร้างโฟลเดอร์ called api on C:inetpubwwwroot
2/ เปิด Internet Information Services (IIS) Manager
3/ นำทางไปยังไซต์และลบเว็บไซต์เริ่มต้น
4/คลิกขวาและสร้างไซต์ใหม่ที่เรียกว่าเว็บไซต์
5/ Set Application pool: DefaultAppPool
6/ Set Physical path: C:inetpubwwwroot and click OK
7/ Right click on Site and select Add Virtual Directory
8/ Set Alias: wz
9/ Set Physical Path: C:WarZbinbuild and click OK
10/ Right click on api and select Convert to Application
11/ Click on the main tab and select Server Certificates
12/ From the right side menu select Create Self-Signed Certificate
13/ Enter api as the name and click OK
14/ Right click on Site and select Edit Bindings
15/ Click Add
16/ Set Type: https
17/ Set SSL certificate: api and click OK
18/ Click on Site and select MIME Types
19/ From right side menu select Add
20/ Set File name extension: .php
21/ Set MIME Type: application/x-php and click OK
22/ From the left side menu select Application Pools
23/ Select DefaultAppPool
24/ Select .NET Framework v2.0 with Integrated
25/ Click on Site and from the right side menu click on Restart
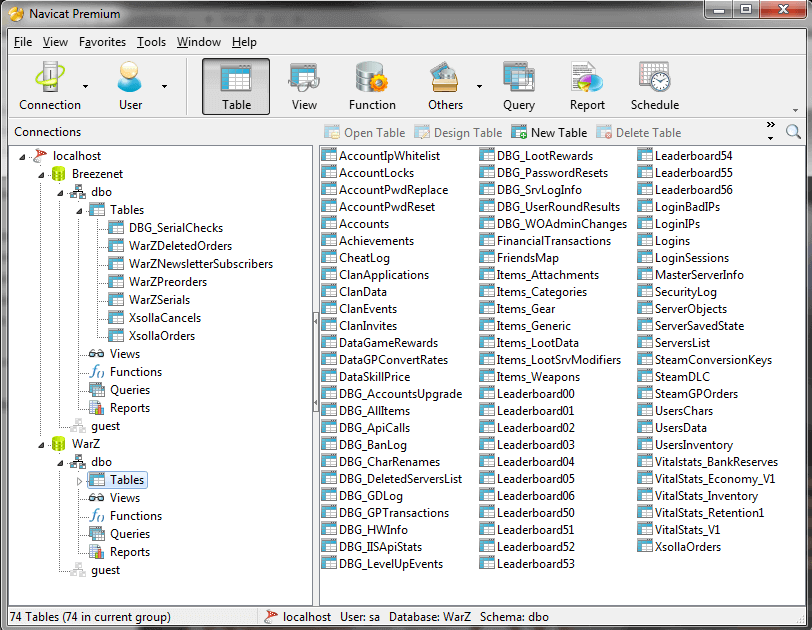
– Database
1/ Open SQL Server Management Studio
2/ Login using Authentification: Windows Authentication
3/ Navigate to Security -> Logins
4/ Right click on sa and select Properties
5/ Write a password, uncheck all (Specify old password, Enforce password policy) and click OK
6/ Right click on Databases and Select New Database
7/ Enter Database name: WarZ
8/ Enter Owner : sa
9/ On the Option tab set Recovery model: Full
10/ Click OK and do the same with Breezenet as Database name
11/ Right click on WarZ and select New Query
12/ Open Infestation_Survivor_Stories.sql with Notepad++, select all and copy it
13/ Paste it on the query and press Execute
14/ Right click on Breezenet and select New Query
15/ Open Breezenet.sql with Notepad++, select all and copy it
16/ Paste it on the query and press Execute
17/ Close SQL Server Management Studio without saving querys
– Microsoft Visual Studio 2008
1/ Open VS2008ProEdition90dayTrialENUX1435622.exe and install it
2/ Open SPInstaller.exe and install it
– Api
1/ Open WZBackend-ASP.NET.sln
2/ Change every FrageDev92 to your sa password
3/ Build the solution in Debug
5/ Publish Web Site with this path: C:inetpubwwwrootapi
ลิงค์ดาวน์โหลด
[sociallocker id=9088]https://mega.nz/#!HZUgWY6Q!z99SrTKIc9FwS9UAaNgWpXefA-2l9vwNzkGBDAE24PM (password : FrageDev92)
[/sociallocker]